
34 coaches online • Server time: 16:22
* * * Did you know? The best passer is Cherrystone Hotpack with 656 completions.
| Recent Forum Topics |
Borak Build Log - Hardware
Introduction
Sunday, September 13
This is a build log for the new database server for FUMBBL for which a donation drive was set up in September 2015.
Components
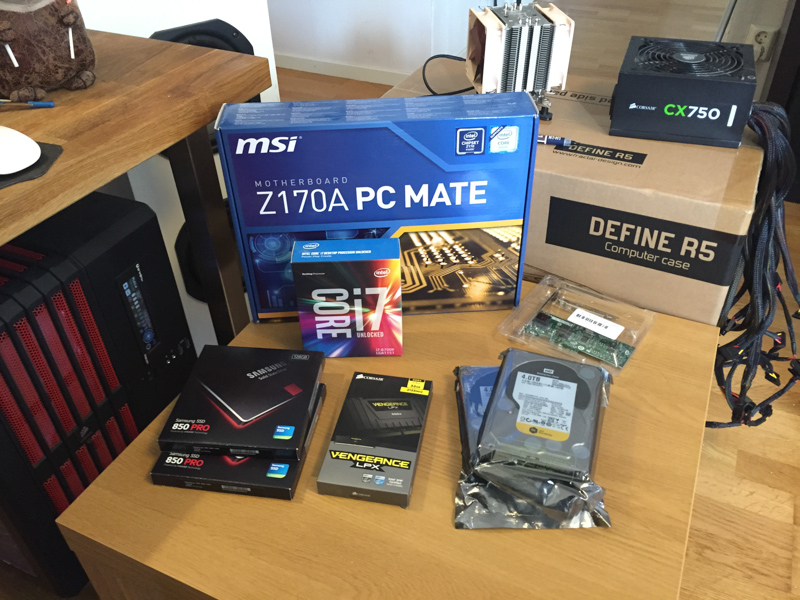
The components used for this build:
Getting started, motherboard
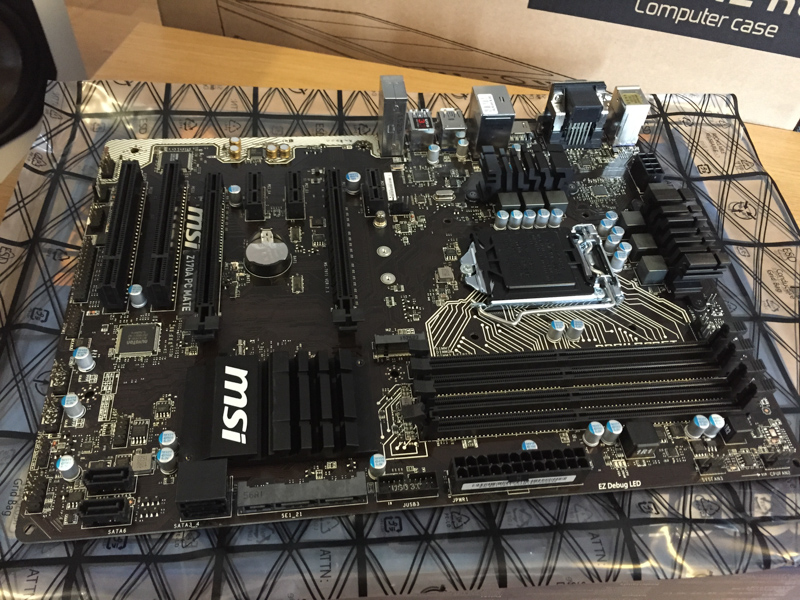
A computer build, for me, starts with unboxing the motherboard:
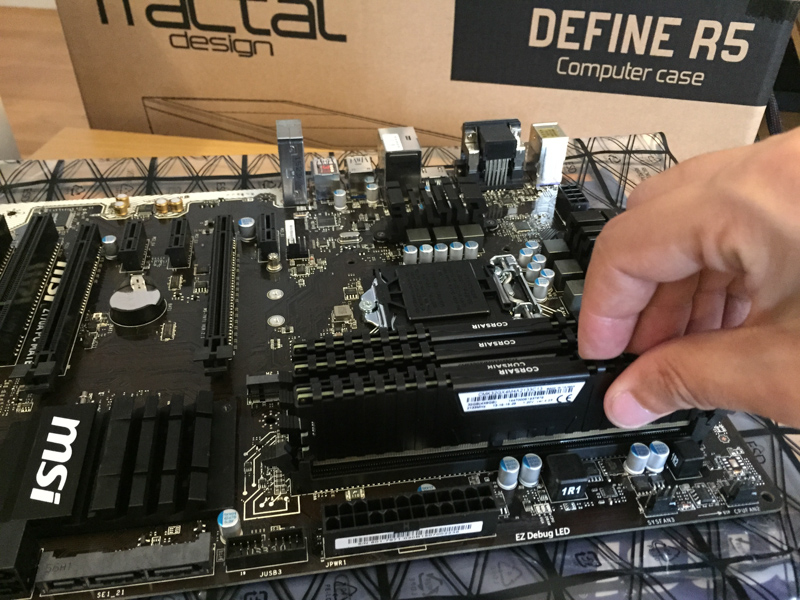
Next up, we install RAM modules:
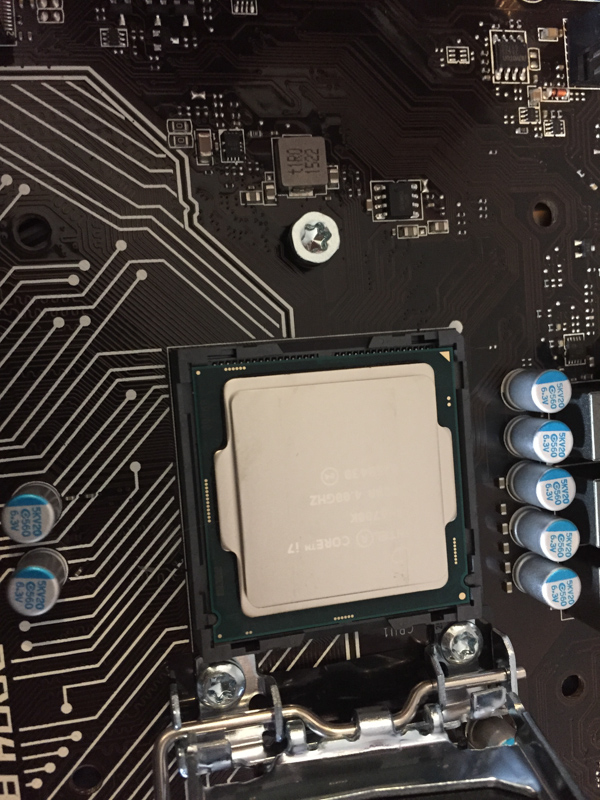
Followed by the CPU:
After this, the CPU cooler is a bit more involved. We start with the cooler backplate:
Then, place the spacers:
Followed by the mounting plates:
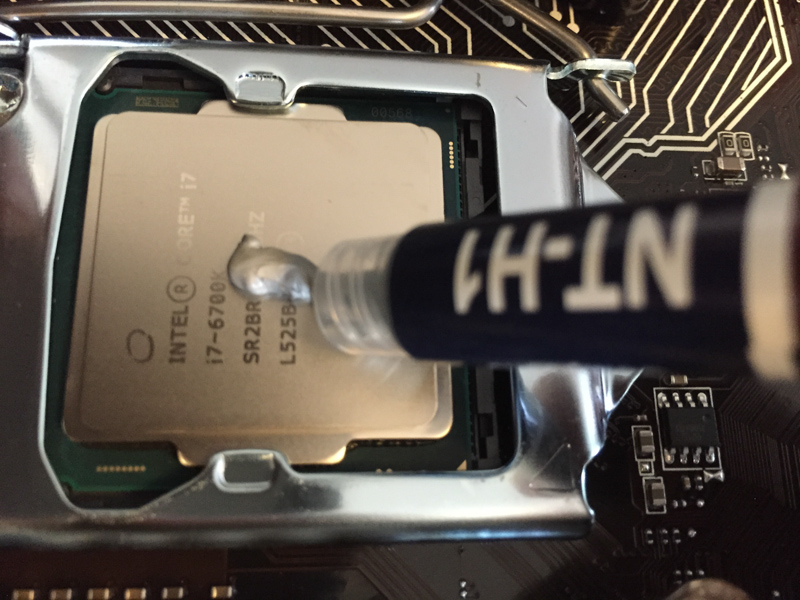
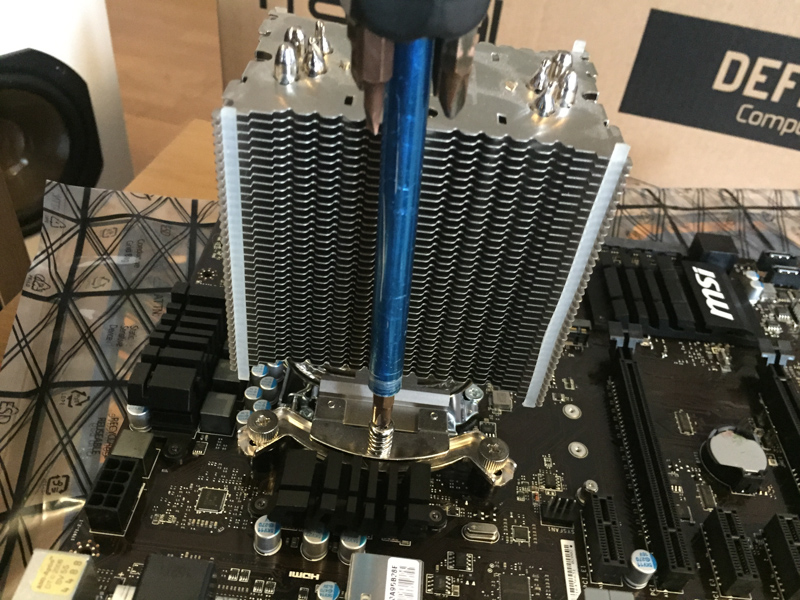
Now we apply thermal compound and install the cooler:
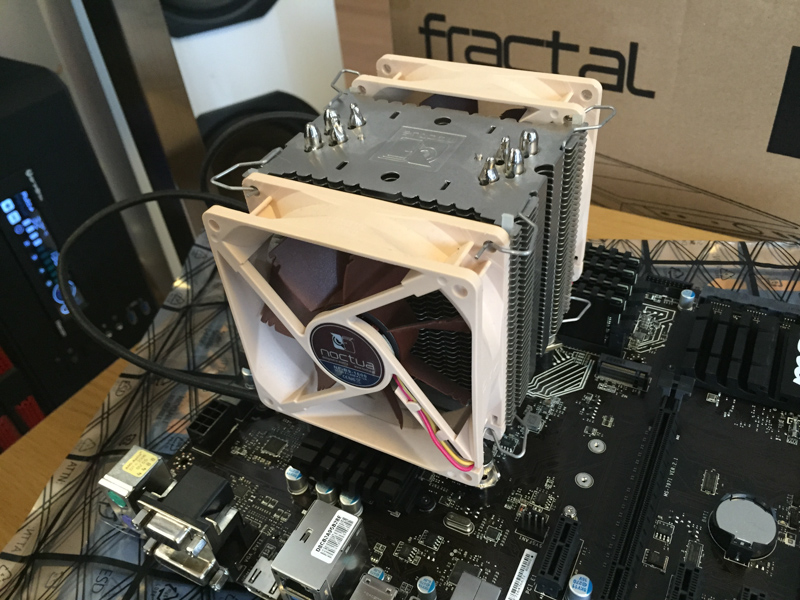
Finally, attach the CPU fans:
Computer case
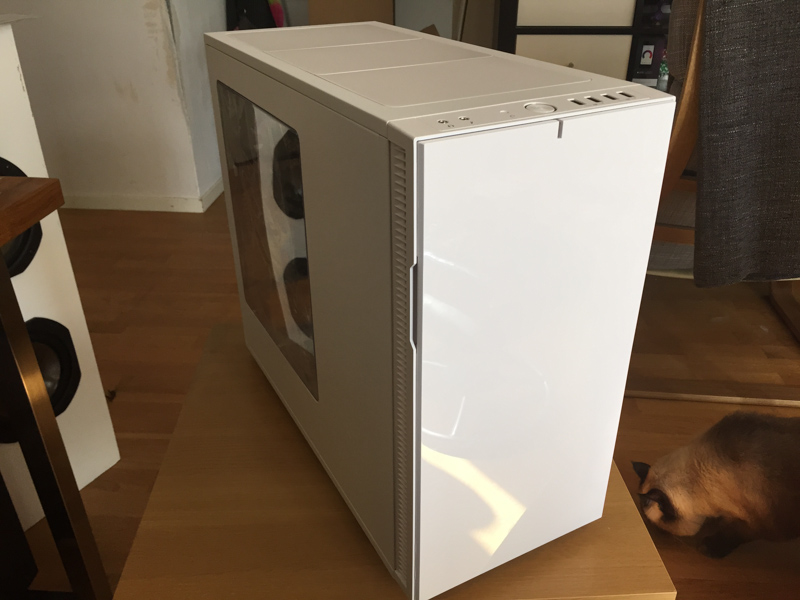
Now it's time to unpack and prepare the case:
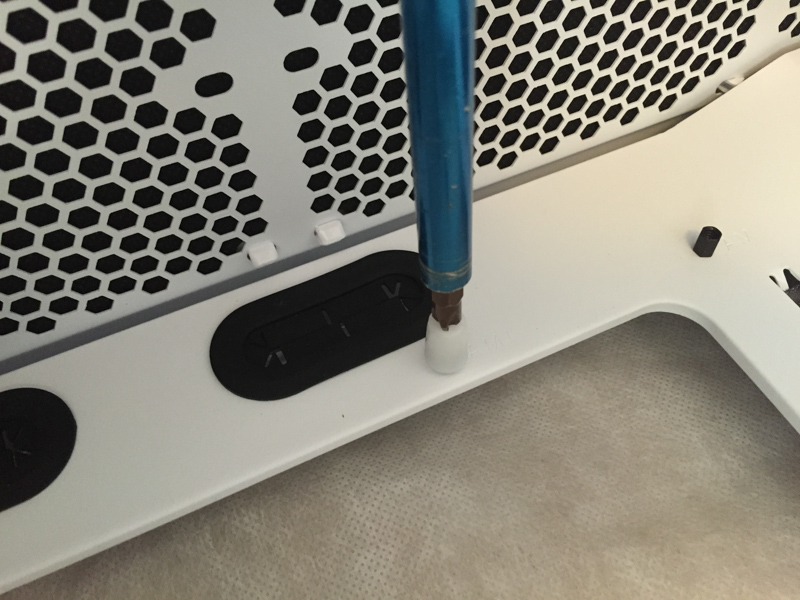
After which we install motherboard standoffs:
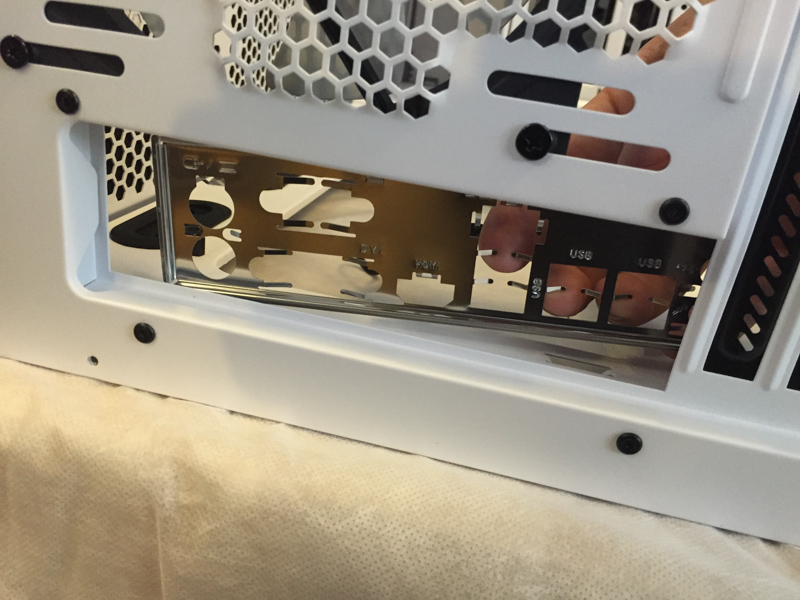
And the IO shield:
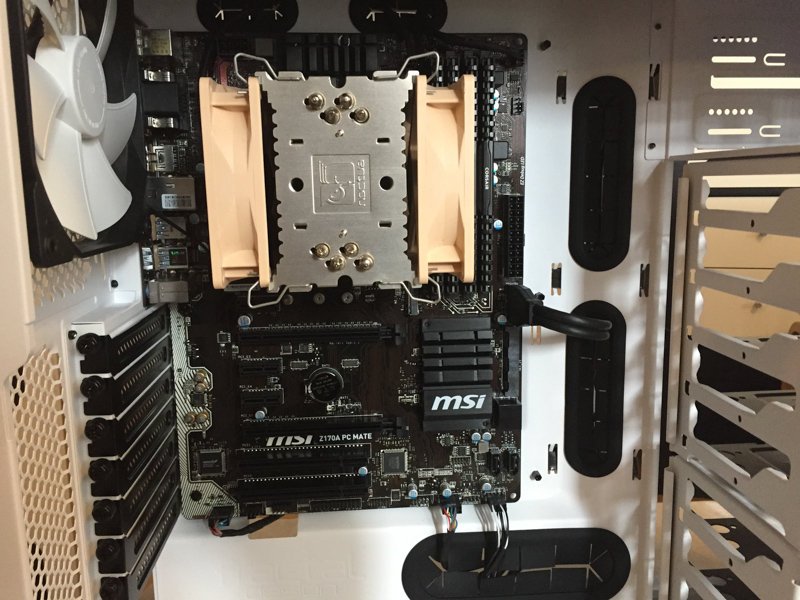
Now we install the motherboard in the case:
Attach case cables, and do some minor cable management:
Attach SSDs:


Attach HDD brackets and install into case:

Install the additional NIC, because why not:
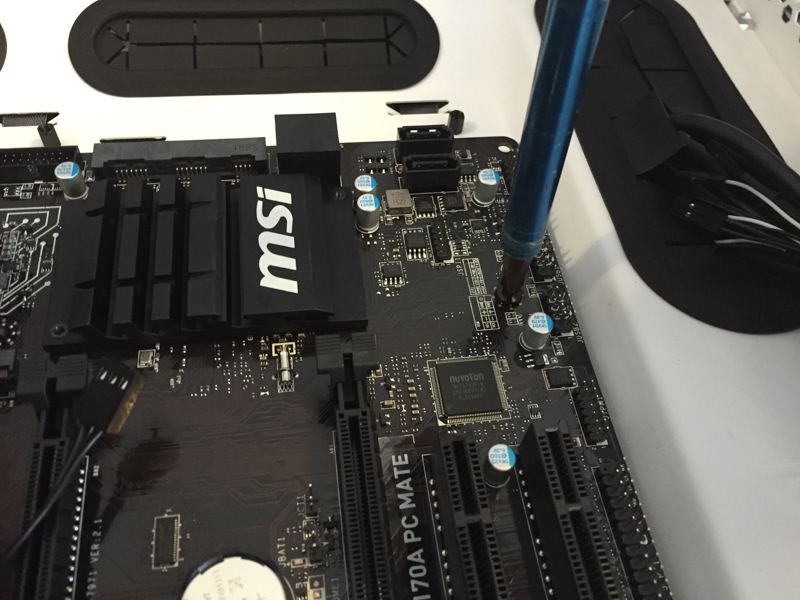
Attach SATA cables. At this point, I realize I only have two cables, and 4 drives. Oops. Found a temporary one to use as a third one, but will have to leave one drive disconnected for now (one of the HDDs):
Power
Next, we install the power supply and sort out the wiring:

After some fiddling around with power cables, we're pretty much done:
And finally, we close up the case:
After connecting a keyboard and a screen, we power up and see if the system passes the POST (Power On Self Test):
With the hardware complete, we move on to the next step:
Installing an OS and software.
Sunday, September 13
This is a build log for the new database server for FUMBBL for which a donation drive was set up in September 2015.
Components
Server Components
The components used for this build:
- MSI Z170A PC Mate motherboard
- Intel Core i7 6700k CPU
- 32GB Corsair Vengeance LPX 2133MHz memory, in a 4x8GB configuration
- Corsair CX750 Power supply
- Noctua CPU cooler (NH U9 or something similar, old component that I'm reusing)
- 2x Samsung 850 Pro 128GB SSDs (for the system)
- 2x Western Digital RE 4TB drives for data storage
- Intel Gigabit CT NIC
Getting started, motherboard
A computer build, for me, starts with unboxing the motherboard:
Motherboard
Next up, we install RAM modules:
Installing RAM
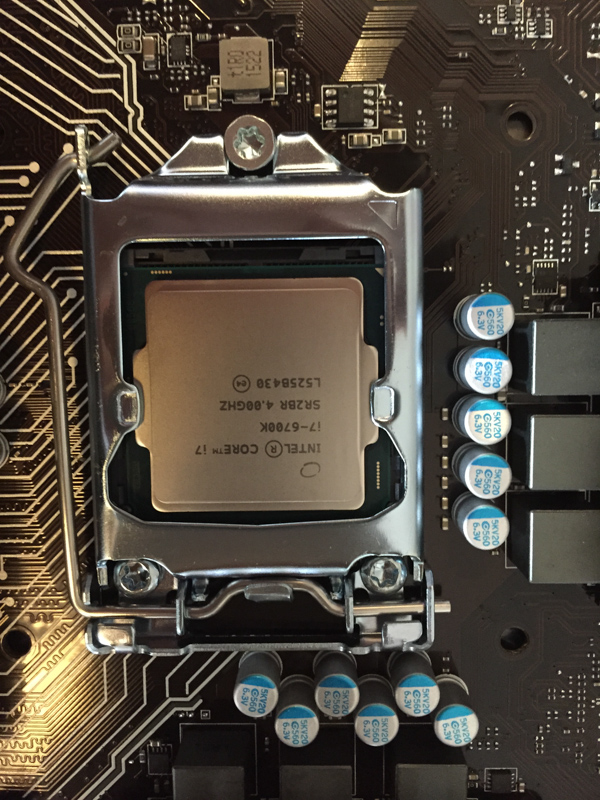
Followed by the CPU:
Installing the CPU
CPU installed
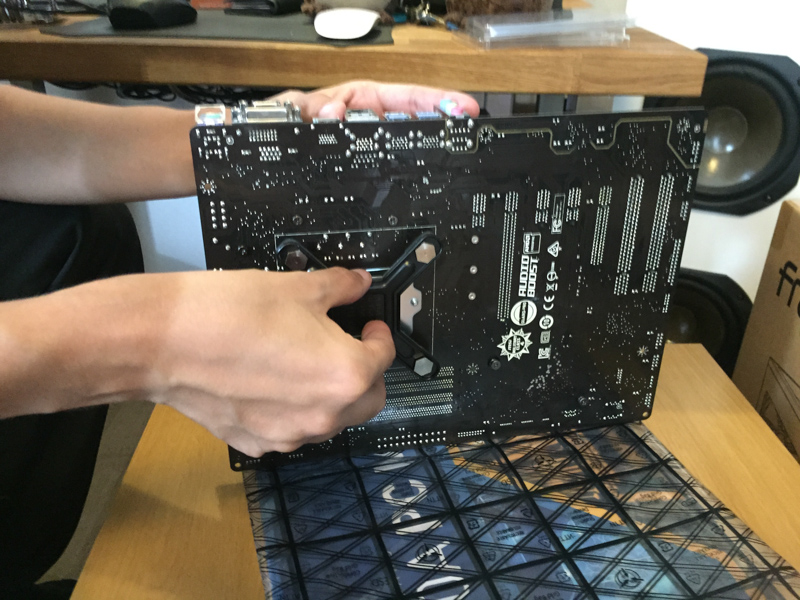
After this, the CPU cooler is a bit more involved. We start with the cooler backplate:
Installing the CPU cooler backplate
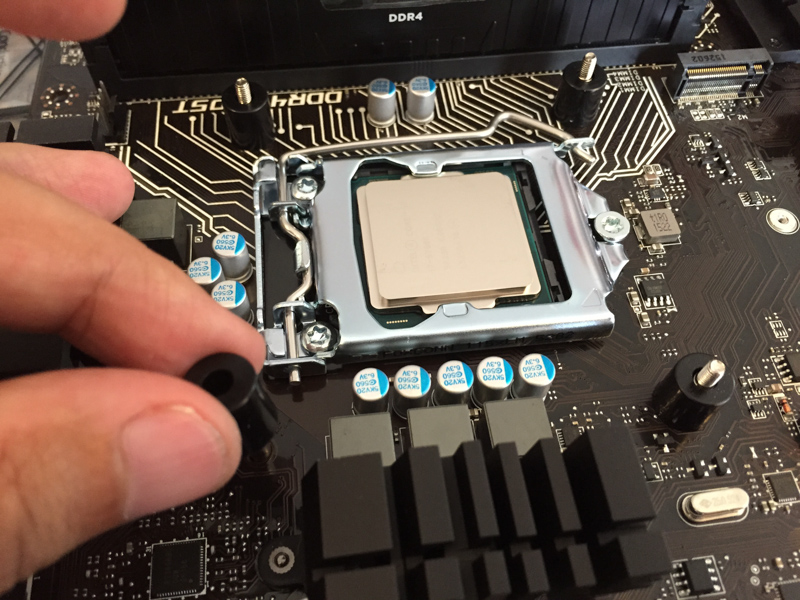
Then, place the spacers:
Installing the CPU cooler spacers
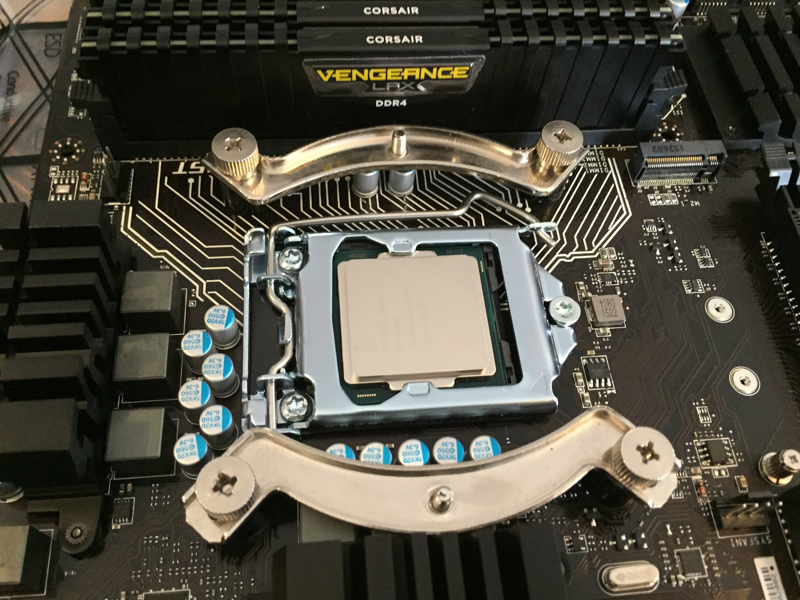
Followed by the mounting plates:
Installing the CPU cooler mounting plates
Now we apply thermal compound and install the cooler:
Applying thermal compound
Installing the CPU cooler
Finally, attach the CPU fans:
CPU fans installed
Computer case
Now it's time to unpack and prepare the case:
Unpacking the case, Simon the cat trying to blend in
After which we install motherboard standoffs:
Installing motherboard standoffs
And the IO shield:
Installing the IO shield
Now we install the motherboard in the case:
Installing the motherboard in the case
Attach case cables, and do some minor cable management:
Connecting the case cables to the motherboard
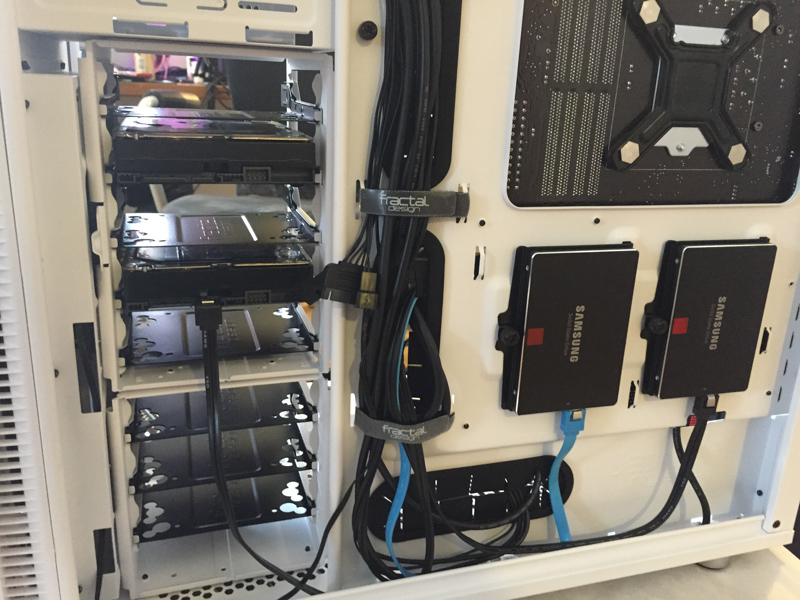
Attach SSDs:
Mounting SSDs to mounting brackets
Attaching SSDs to the case
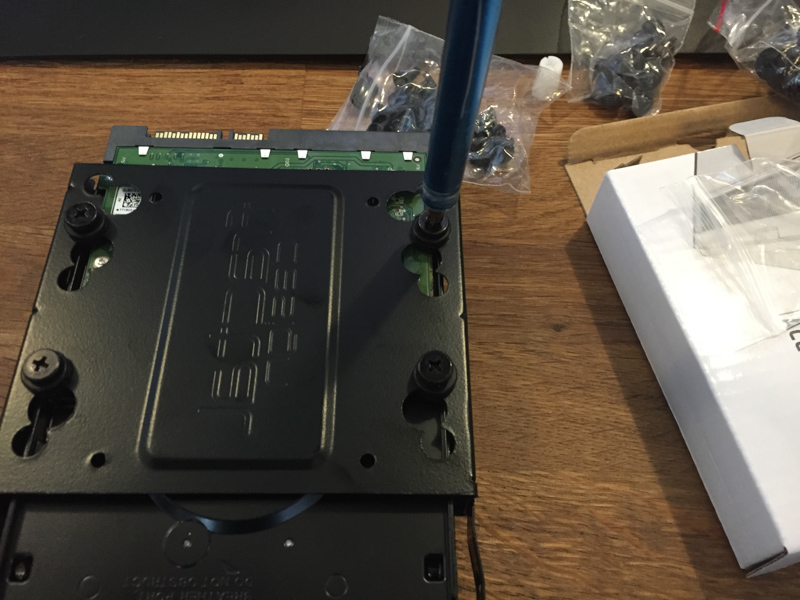
Attach HDD brackets and install into case:
Mounting HDDs to mounting brackets
HDDs installed in case
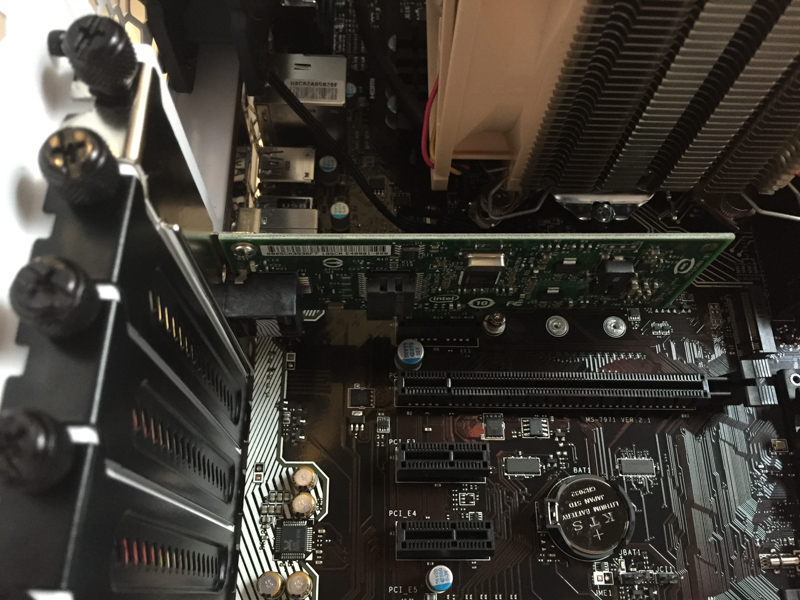
Install the additional NIC, because why not:
Installed the NIC
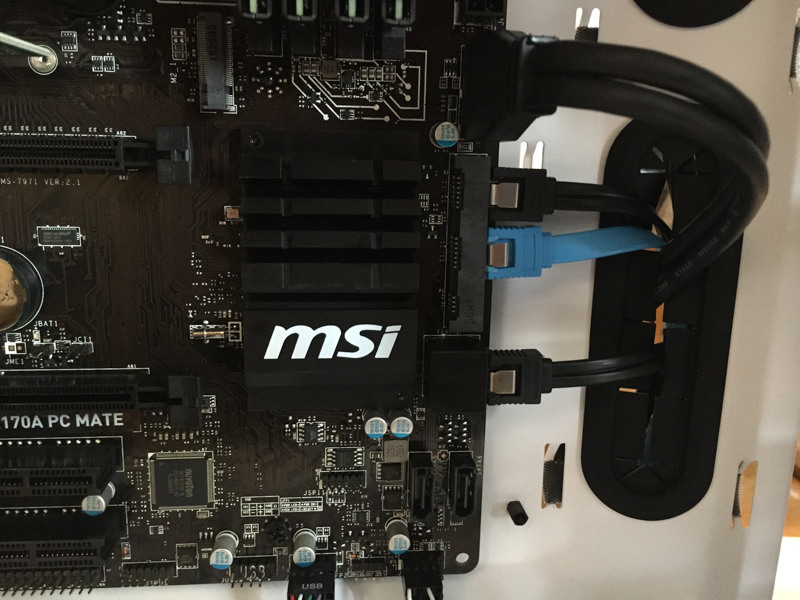
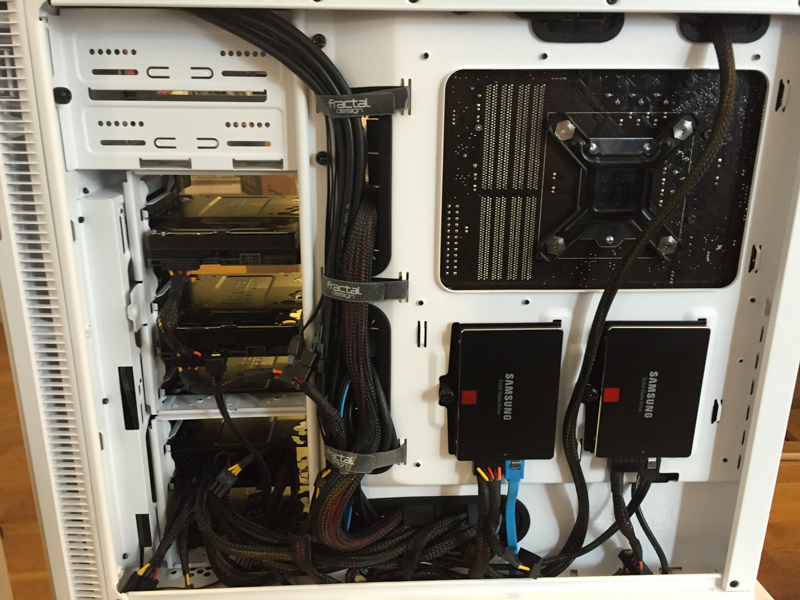
Attach SATA cables. At this point, I realize I only have two cables, and 4 drives. Oops. Found a temporary one to use as a third one, but will have to leave one drive disconnected for now (one of the HDDs):
SATA connectors on the motherboard, the blue one is temporary
Wiring behind the motherboard
Power
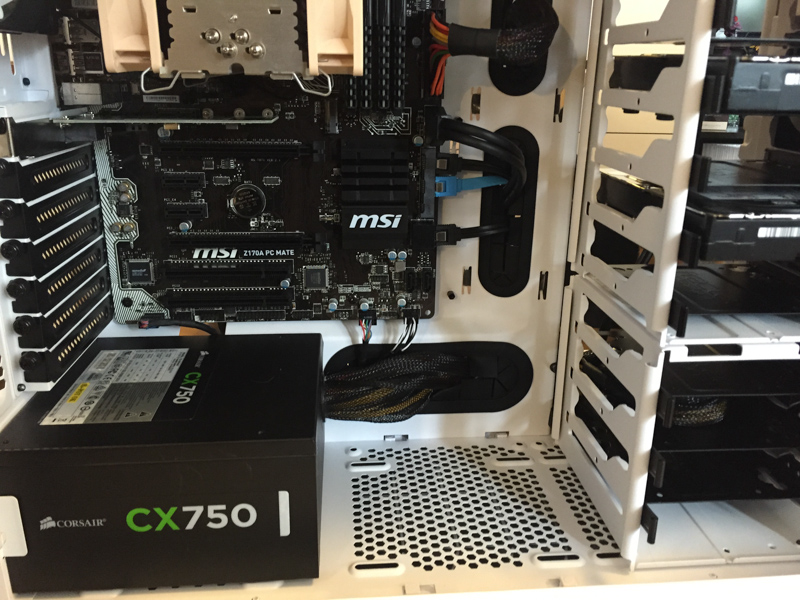
Next, we install the power supply and sort out the wiring:
Power supply in place. That's a lot of power cables to deal with
After some fiddling around with power cables, we're pretty much done:
Power wires are hidden from plain view
... and we tried our best to keep it clean in the back too
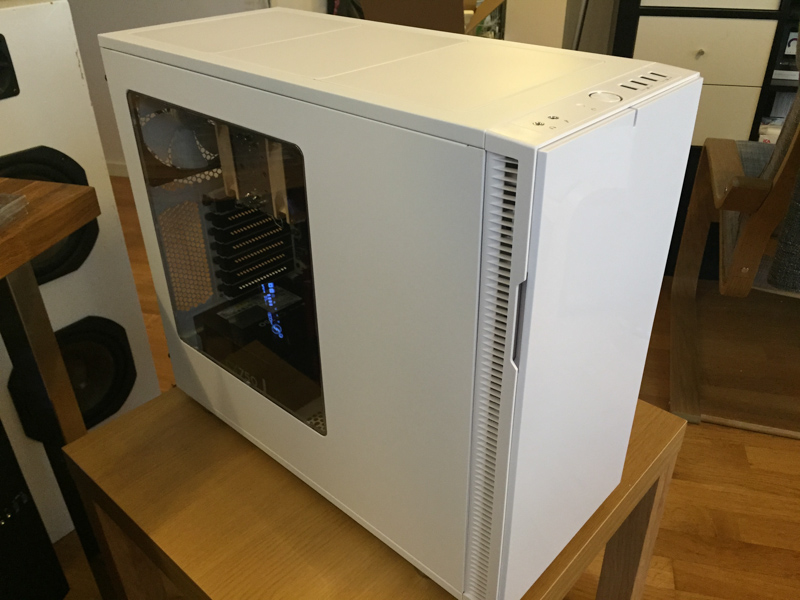
And finally, we close up the case:
Just before attaching a display and powering up for the first time
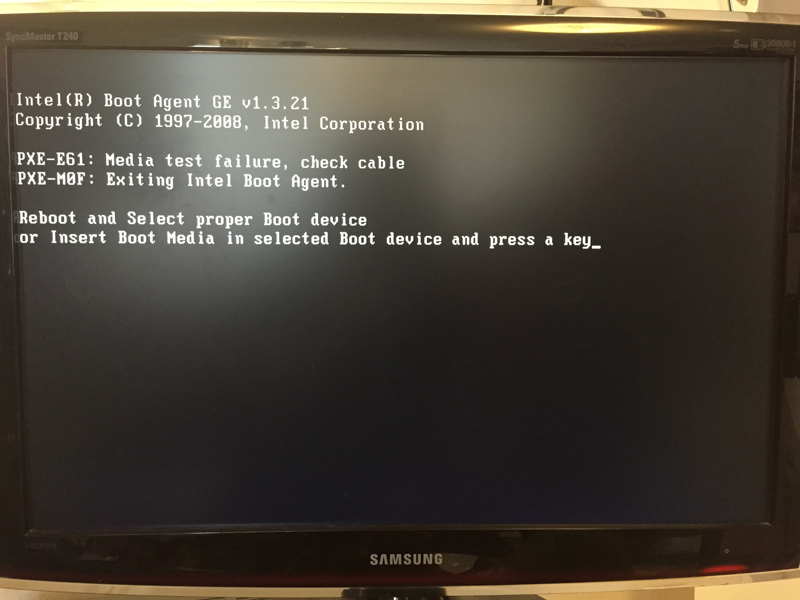
After connecting a keyboard and a screen, we power up and see if the system passes the POST (Power On Self Test):
We managed to POST properly!
With the hardware complete, we move on to the next step:
Installing an OS and software.